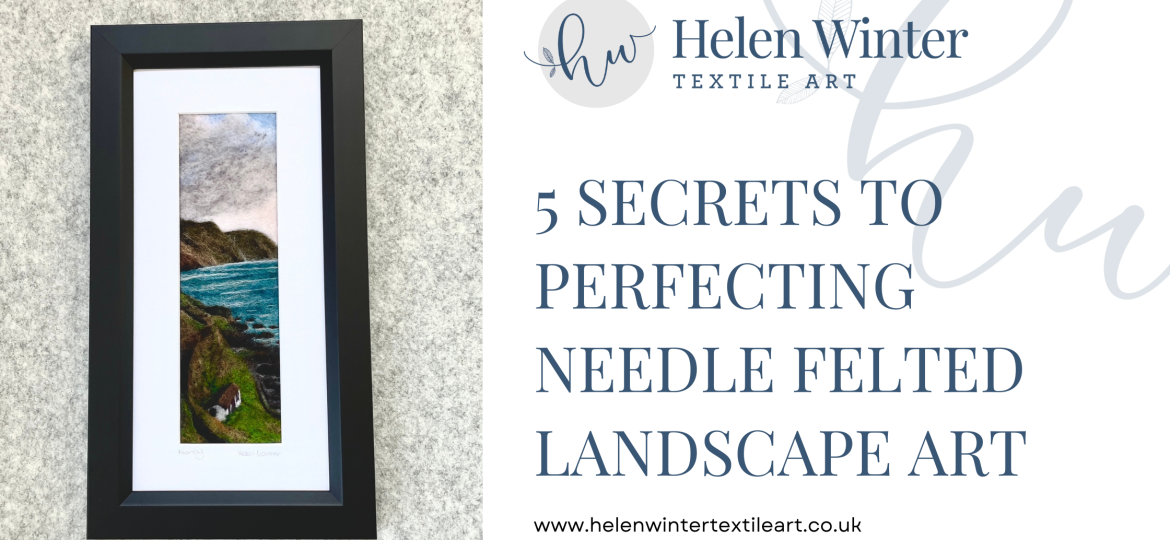
Needle felted landscape art is a unique and expressive form of fibre art that use wool, felting needles, and layering techniques to create realistic natural scenes. From misty mountains to vibrant meadows, learning to master needle felted landscapes involves understanding wool texture, colour theory, composition, and depth. In this blog, you’ll discover five expert-level secrets to help you bring your woolly landscapes to life with realism and emotion.
But before we get started why not download my FREE guide to Blending and Creating Your Own Wool Colours; a perfect resource for when you need just the right hue for your masterpiece.

Introduction to Perfecting Needle Felted Landscape art
Needle felted landscape art is more than just woolly recreations of nature—it’s immersive scenes that blend texture, colour, and storytelling into art that feels alive. Whether you’re trying to capture the gentle slope of a hill at sunset or the wildflowers in a summer meadow, mastering the art of needle felted landscapes takes more than just stabbing wool into place.
But don’t worry—it’s absolutely learnable. In fact, with the right techniques and a bit of patience, anyone can create landscapes that look rich, dimensional, and full of atmosphere. So, let’s get into it. These are my top 5 secrets to help you level up your needle felted landscapes.
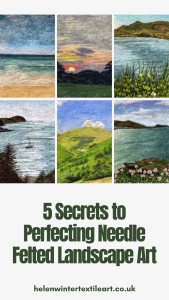
Secret #1: Layer Like a Painter – Building Depth in Needle Felted Landscape Art
The first secret is all about layering—which is basically the foundation of any great felted landscape. Think of your felting mat like a canvas and your wool like paint. You wouldn’t slap all your colours on at once in a painting, right? The same goes for felting.
Start from the back. This usually means your sky, distant hills, or water. Use light layers and don’t over-felt—keeping things soft and airy helps push these elements into the background. As you move forward in your scene, your colours should get darker and more saturated. That’s how you naturally create depth.
Want to create a realistic hillside? Try blending soft, pale greens for the background and build up to rich forest greens and browns in the foreground. And don’t just use one type of wool. Mix smooth Merino for sky gradients and fluffy or coarse wools like Corriedale or Jacob for textures like bark or grassy tufts.
A lot of people make the mistake of felting everything flat and evenly—but nature isn’t uniform. Play around with wool thickness, felting pressure, and direction to keep things dynamic and believable.
Secret #2: Perfect Your Colours – Using Colour Theory in Needle Felted Landscape art
Colour is where the magic happens in needle felted landscapes, especially if you want them to look lifelike. You don’t need to be an expert in colour theory, but understanding a few key principles will make a huge difference.
Start with warm vs. cool tones. Warm tones (like yellows and reds) come forward in a scene, while cool tones (like blues and purples) fade back. That’s why far-off hills often look bluish—even if they’re green in real life.
Also think about value, which is how light or dark a colour is. High contrast in value can create strong focal points, while subtle shifts can make misty mornings or dreamy twilight scenes feel believable. Need a quick tip? Try laying out your colour choices in black and white first. You’ll instantly see where you’re lacking contrast.
Don’t be afraid to push colour a bit. Landscapes aren’t always brown and green. A bit of lavender in your shadows or a spark of yellow in your grass can make your work pop.
And of course, nothing beats observation. Take your own photos, look out your window, or go for a walk—notice how light and seasons affect colour in real life, and then translate that into wool.
Secret #3: Texture, Texture, Texture – Bringing Artwork to Life
Texture is one of the most exciting parts of working in wool. It’s where your needle felted landscapes go from “nice” to “whoa, that looks real.”
Each element of your scene—clouds, bark, rocks, grass—needs its own textural treatment. You can create so much variety just by changing the type of wool and the way you felt it.
For fine details like blades of grass, use a 40-gauge needle and a small amount of wool. For rougher textures like tree bark or rocks, go with a coarser wool and a 36-gauge needle. Leave some wool fuzzy and loosely felted for clouds or foliage in the distance, and stab deeply and densely for smooth, compact areas like water or foreground paths.
You can also add extra materials if you’re feeling adventurous. Dried moss, silk fibres, tiny twigs—these all add extra realism and tactile variety. Just make sure everything is secure and won’t fall off!
Texture gives your landscape a sense of physicality that’s hard to replicate in flat art forms. So lean into it. Let the wool guide you, and don’t be afraid to get a little wild with it.
Secret #4: Composition is Key – Designing Impactful Landscapes
Before you even start felting, take a moment to plan your scene. Composition—the arrangement of elements in your piece—is what makes it feel balanced and engaging.
Use the rule of thirds. Imagine your canvas is divided into a grid with two horizontal and two vertical lines. Placing focal points (like a tree, building, or path) where those lines cross tends to make a piece feel more natural and dynamic.
Think about leading lines too. Paths, rivers, fences, and rows of flowers can all guide the viewer’s eye through your scene, helping them feel “drawn into” the piece.
Decide on your focal point, then support it. Everything else should either lead toward it or frame it. Avoid cluttering every part of the piece with detail—that just makes the eye bounce around. Use light, shadow, contrast, and scale to draw attention to the star of the show.
Good composition helps your viewer know where to look and what to feel. It also gives your felting purpose—making it more than just a copy of a photo and turning it into a little woolly story.
Secret #5: Practice and Patience – The Real Magic Behind Needle Felted Landscape ARt
Here’s the truth: the final secret isn’t a fancy technique—it’s patience.
Perfecting needle felted landscapes takes time. If a section’s not working, step away. Come back later with fresh eyes. Sometimes you’ll need to pull bits off and redo them. That’s part of the process, not a failure.
Felting is repetitive, slow, and detailed—but it’s also deeply satisfying. Each stab adds structure, colour, and form. The more you do it, the more intuitive it becomes.
I always recommend starting with small, manageable scenes. Focus on skies and hills first, then build up to trees, flowers, and buildings. Keep a journal of what works (and what doesn’t). And most of all—celebrate your progress.
Every artist has pieces they aren’t entirely satisfied with, and that’s perfectly normal. Each piece, successful or not, is a learning experience. Celebrate your progress, learn from your challenges, and most importantly, enjoy the creative journey of bringing your visions to life with wool. With patience, persistence, and a willingness to learn, you will undoubtedly perfect your own unique art of needle felted landscapes.
If you’re anything like me, you’ll look back at your early work and think “whoa—I’ve come a long way.” That’s the joy of it. Every piece is a step forward.
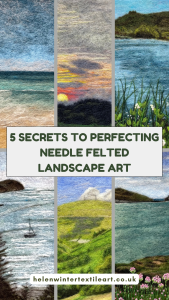
Ready to Take Your Needle Felted Landscape Art Even Further?
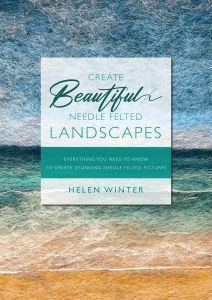
If you found these tips helpful, you’ll love what I’ve packed into my book, Create Beautiful Needle Felted Landscapes. Inside, you’ll find:
- Detailed step-by-step tutorials
- Tips on wool types, tools, and colour blending
- Real examples from my own work
- Projects to help you build skills while creating beautiful art
It’s perfect for beginners and experienced felters who want to go beyond basics and start crafting scenes that look like they might come alive.
👉 Buy my book Create Beautiful Needle Felted Landscapes and start turning your wool stash into breath-taking works of art.
Remember to experiment, embrace mistakes as learning opportunities, and above all, enjoy the process of bringing your needle felted art to life and don’t forget to download my FREE Blending and Creating Your Own Wool Colours Here