

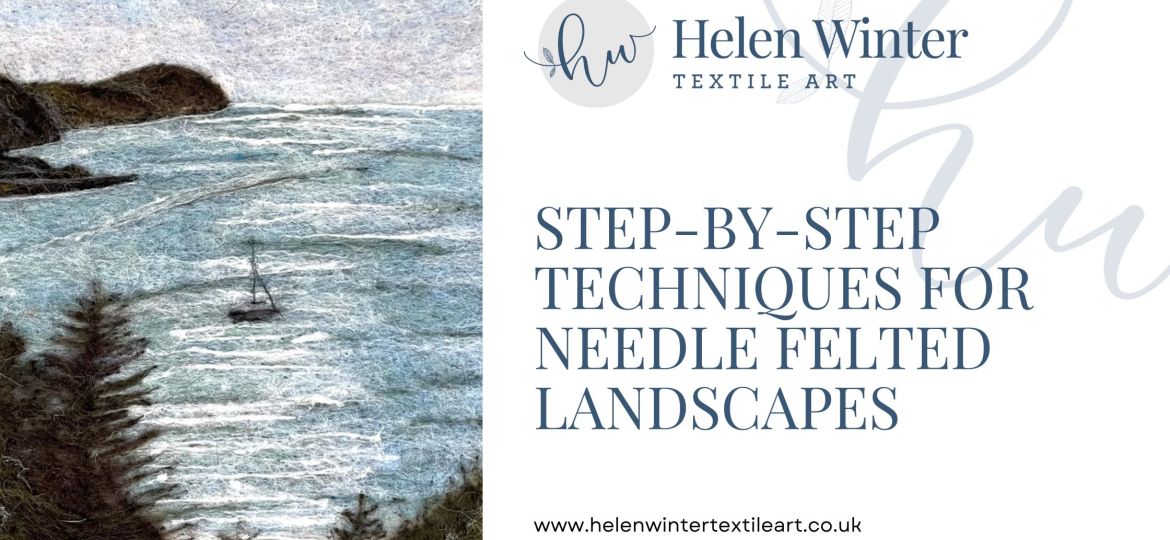
Needle felting is a captivating craft that allows you to transform raw wool fibres into stunning works of art like needle felted landscapes. One particularly intriguing form of needle felting is creating wool paintings, also known as needle felted landscapes. These artworks are characterised by their intricate details, textures, and vibrant colours. In this comprehensive guide, I’ll explore the step-by-step process of creating a stunning needle felted wool painting, perfect for beginners looking to delve into the world of needle felting.
But before you get going why not download my FREE guide to Blending and Creating Your Own Wool Colours, perfect for when you can’t find the right colour for your work of art.

Download it here

Materials Required For Needle Felted Landscapes
Before diving into the artistic process, you’ll need to gather the following materials to ensure a smooth and enjoyable felting experience:
Wool fibres: Choose high-quality, dyed wool roving in various colours to bring your needle felted landscape to life. Look for carded wool slivers or a wool blend, as they are easy to work with and provide excellent felting properties. You can also add effect or specialty fibres like silk and bamboo to add extra texture and dimension to your picture.
Felting needles: Select a variety of felting needles with different gauges for your needle felting step-by-step process. The needles have barbs that catch and bind the wool fibres together during the felting process. Single needles in several gauges, from general to fine, will be helpful. Consider using needles with differently coloured handles for easy identification. The gauge of a felting needle indicates its thickness or diameter, with higher numbers denoting finer needles. The number of barbs on the needle also affects the felting process, with more barbs leading to quicker felting and fewer barbs allowing for greater accuracy. Different needle shapes, such as triangular, crown, twisted, and star, offer versatility for various felting needs.
Felting surface: You can use a rice-filled cotton burlap bag, which is perfect for moulding and holding 3D shapes in place. Alternatively, a dense wool felting mat or foam pad will provide a firm surface that offers resistance and makes felting easier and quicker. For larger projects, a thick felting mat used for ironing can serve as your main working surface, preventing your work from slipping.
Reference image: Find a high-resolution image or design that serves as your inspiration for the needle felted picture. This image will guide you throughout the creative process, ensuring accuracy and capturing the essence of your desired landscape.
Embroidery hoop (optional): If you prefer a taut surface to work on, an embroidery hoop can be helpful in holding the wool in place while needle felting.
Scissors: Keep a pair of scissors handy for trimming stray wool fibres from the final needle felted piece.

Step-by Step Guide To Create A Needle Felted Landscape
Now, let’s explore the needle felting step-by-step process to create your needle felted landscape masterpiece:
- Prepare your workspace: Set up a comfortable, well-lit area to work in. Ensure you have a clean and stable surface and place the foam pad or wool mat on it.
- Choose your design: Select a reference image or create a sketch of your desired landscape. It could be a serene meadow, a majestic mountain range, or any other scene that inspires you.
- Prepare the felting surface: If using an embroidery hoop, stretch a piece of white fabric or felt tightly across it. Alternatively, you can work directly on the foam pad by placing the felting surface down and pinning it onto the pad.
- Build the base layer: Begin by pulling small sections of carded wool of your base colour and loosely layering them on the felting surface. Start with the colours that are further away in the picture and gradually work forwards through the landscape. Use a felting needle to gently felt the fibres onto the felting surface. Gradually build up the layers, focusing on basic shapes and the overall composition of the needle felted picture.
- Adding details and shading: As the foundation takes shape, start introducing finer details using smaller sections of wool and felting needles with finer gauges. Pay close attention to light and shadow, adding depth and texture to your needle felted landscape.
- Blending colours: To create smooth transitions and gradients or to achieve a colour that you can’t find, blend different-coloured wool fibres together. Take small amounts of the wool colours you’d like to blend, place one on top of the other, pull apart, re-stack, and repeat until mixed. To attach the blended fibres, gently felt them with the felting needle to interlock the fibres and achieve a seamless look. Here’s a FREE guide to show you how.
- Layering and dimension: Experiment with layering wool to add dimension to your needle felted landscape. For instance, if you’re creating a rolling hillside, consider adding separate layers for the foreground, middle ground, and background. Use different shades and textures of wool to distinguish each layer, adding depth and visual interest.
- Fine-tuning and refining: Continuously refer to your reference image or sketch to refine the details of your needle felted landscape. Pay attention to proportions, highlights, and intricate features. Utilize tweezers for precise fibre placement and use small felting needles for intricate work that requires detailed needle felting techniques.
- Adding embellishments (optional): If desired, you can incorporate additional elements into your wool painting, such as beads, sequins, or embroidery, to add extra dimension and texture to your needle felted picture.
- Final touches and framing: Once you are satisfied with your needle felted landscape, carefully peel it off the foam pad, enjoying the satisfying sound it makes. Trim any excess wool fibre with scissors, ensuring clean and defined edges. If you wish, you can frame your artwork to protect and display it using a suitable frame and mounting materials.
Guidance is key to gaining confidence and creating a stunning result.
I have the solution, a beautiful needle felted 2D landscape artwork tutorial, my comprehensive online tutorial, designed to guide you through the process of creating stunning a landscape that reflect the beauty and spirit of the natural world. This course is perfect for anyone with a deep appreciation for nature, seeking a creative outlet to add balance and beauty to their life.
You can find this inspiring online tutorial here

Create Beautiful Needle Felted Landscapes Book
Or if you’ve ever wanted to create stunning needle-felted landscapes but weren’t sure where to start, my book Create Beautiful Needle Felted Landscapes is the perfect guide for you! This book is packed with step-by-step instructions, expert tips, and six gorgeous projects designed to help you master the art of landscape felting.
Whether you’re a complete beginner or a seasoned needle felter looking to refine your techniques, you’ll find inspiration, guidance, and plenty of practical advice to bring your wool paintings to life. With a focus on texture, depth, and colour, this book will help you transform simple fibres into breath-taking natural scenes.

📖 Create Beautiful Needle Felted Landscapes is now available on Amazon (if you have issues accessing the book, please search for it in your own countries Amazon domain site). Order your copy today and start your next creative adventure.
Conclusion
Creating a stunning needle felted wool painting, especially a needle felted landscape, requires patience, creativity, and attention to detail. By following this step-by-step guide and utilising various needle felting techniques, you can watch your wool fibres transform into a breath-taking masterpiece. Or if you prefer, I have other online tutorials that’ll take you through the whole process step by step which you can get here.
Remember to experiment, embrace mistakes as learning opportunities, and above all, enjoy the process of bringing your needle felted landscapes to life and don’t forget to download my FREE Blending and Creating Your Own Wool Colours Here
